Ryobi Tools Still Going Strong

About a decade ago, I wrote about Ryobi cordless tools. At the time, I stated that the tools weren’t the top of the line, but adequate for my use. In the course of that time, I’ve added a number of tools and batteries to my collection. I’ve been very pleased with the variety of tools from a tire inflator to a jigsaw to a vacuum cleaner.

I think I’m up to almost 20 tools and a handful of batteries. Having the right tool for the right job is always key to me, so when I’ve found deals on new tools to add to the collection, I’ve been trying to jump on them. In the time that I’ve owned all the tools, I’ve had 2 or 3 batteries fail, but other than the circular saw initially not working, everything is holding up. My most used tool is probably the reciprocating saw. It has gotten beat up as I use it to cut bamboo, tree limbs, etc. It still is a solid performer.

For the average homeowner, I would hands down recommend the Ryobi 18V tool system as having a single type of battery for all tools makes it so easy to just grab a tool and use it. I have 2 of the chargers mounted on my workbench and can just charge batteries when I need them; the charged batteries sit on a shelf and I always have one ready.

Review: Luminoodle

Earlier this summer, I saw a deal on Woot.com for an LED strip light called Luminoodle. The strip lights are powered by USB (which as people that have been around me know is basically a requirement for all devices that I take camping or on trips), but don’t include a battery (unless you purchase their battery). There are a ton of knock offs on Amazon, but I figured I’d get the one that is considered the original.

I purchased the 10 foot version with the goal of using it camping. So far I’ve used the lights on 3 campouts and a week at summer camp. The lights are extremely bright, so much that I also bought a dimmer for them. They are quite easy to string up with the included magnets (not all that useful in most cases) and the plastic loops. Unfortunately I found that I needed more loops to attach them to my tent. For anyone that is into 3D printing, I designed some hooks that work with the lights and my tent.

In my 2 person tent, I say that it is lit up like a stadium! When we were at summer camp, the tents are canvas Scout tents that, when closed, are almost pitch black, so having light in them is extremely useful. The tent was on a metal frame, so the magnets worked OK (but, not great) to attach the lights.

There really isn’t much else to say about the lights; they provide very bright light over a wider distance than a flashlight or a lantern. They are lightweight so they can easily be used in any tent. While I can’t speak to the reliability of the lights, so far they’ve holding up pretty well.

They are advertised as being able to be used as a lantern when put in the included carrying bag, but I don’t see me using it that way. Once I’ve gone through the trouble of putting up the lights in my tent, I don’t want to take them down to use it as a lantern.

Pros

  • Bright.
  • Lightweight.
  • USB powered.

Cons

  • At times it can be too bright.
  • It doesn’t come with enough hooks to attach it to my tent.
  • The magnets don’t work too well to secure the lights.

Summary

The Luminoodle lights are perfect for brightening up tents for camping. Being USB powered allows me to use the batteries I bring for charging devices. After using the lights for a few times, I can’t imagine camping without them. It is so much easier to find things in my tent!

I can’t recommend these lights enough. I was debating between the 5 foot and the 10 foot version and the 10 foot version is definitely the way to go as the light is spread out over more of my tent.

Review: Woodmark Hotel – Kirkland, WA

This past summer, my family visited Seattle. I have a cousin that lives in Kirkland and offered to help us find a place to stay. She found a deal on Groupon for a local hotel that is highly rated, the Woodmark Hotel. The Groupon deal was decent and the hotel looked a step up from the normal places we stay, so I booked a garden view room for 4 nights.

When we arrived, they upgraded us to a lake view room which I thought was great. I was also told that there would be a wedding that evening (at the outdoor venue), but would be coming inside around 8 and then promptly ending at 10 or 11 (I can’t remember the time). I didn’t think that was a problem and they offered us ear plugs if we needed them. They promptly sent me a text saying that if I needed anything, I could text them back which was a neat feature as I don’t like having to talk on the phone or go down to the front desk.

Turns out that our second floor lake view room (which was very nice) was directly overlooking the venue for the wedding which meant we had noise until they went inside. When they did go inside, we could still hear all the noise. The second night was a repeat of the first with another wedding. On the third day, I was done with the noise as I had trouble sleeping the prior 2 nights. I texted the front desk and the person who answered found another room on the 4th floor and asked if I wanted to see it before we moved. My son and I took a look at the room and it was still a lake view room, but further from the wedding venue, so we took it and moved our stuff. The person that helped us was very nice and apologized. He also said it was “wedding season”.

That night we still heard the wedding, but when they went inside we couldn’t hear them anymore. As we were going out that day, I looked on the schedule and only saw someone’s birthday party with nothing in the evening which was a huge relief.

Upon checkout, the person at the desk asked how our stay was. I said not great or something similar and she said “OK” without asking why or what they could have done to make it better. For a relatively small hotel, I expected better.

While I’m sure that the hotel is great for weddings, the layout of the hotel basically gives every lake view room a front row seat to wedding even if you aren’t an invited guest! We’ve stayed in a number of hotels over the years and I’ve never written a review of one in the past; this absolutely poor experience caused me to write this and warn others to not stay at this hotel during “wedding season”. Also, with the exception of the man that moved us to a different room, I didn’t find the staff to be all that friendly. Even with the Groupon rate, the room was not cheap.

I reached out to Groupon and they gave me a 30% credit which was pretty generous in my opinion as they didn’t have to do anything.

Bottom line is to stay elsewhere when visiting Seattle or Kirkland.

Review: Motorola Talkabout T460

Many years ago I purchased FRS (Family Radio Service) radios commonly called walkie talkies. I chose the Motorola T5000 because it came with 4 radios and the price was right; I know I didn’t spend much time researching them. The radios have served me well over the years. The radios operated on both FRS and GMRS (General Mobile Radio Service) frequencies. Certain frequencies (the radios have specific channels that correspond with frequencies) are FRS only, some are GMRS only and some are available on both. FRS is unlicensed whereas GMRS requires a license. Since I don’t have a GMRS license, I’ve always stuck to the FRS channels. I suspect that many people just picked a channel and used it not realizing that they were violating FCC regulations.

In 2017 the FCC adopted changes to FRS and GMRS which increased the maximum output for FRS radios (from 0.5 W to 2.0 W) and made available certain channels that were GMRS only to FRS users. They basically acknowledged that people were using the FRS/GMRS radios with no regard to which channels were being used.

The rechargeable batteries on the Motorola T5000 radios I owned had long died and with my push to have all my devices rechargeable via USB, I decided this past spring to replace the radios. The radios also had a maximum output of 0.48 W on the GMRS channels (now available for FRS) which meant that the range of the radios was quite limited.

I liked the styling of the newer Motorola Talkabout radios, so I picked up a pair of Talkabout T260 radios. I used the radios on a Scout trip and they worked quite well, but there was a place that I lost contact with another leader that was at the front of the hiking group. We also used the radios on a cruise ship and they worked pretty well across several decks even with all the steel that blocks signals. Even though the radios performed decently, I decided to do some more research on the radios. The radios are advertised with a 22 mile range; that, of course, is in ideal conditions and never happens. The manual has a chart of channels and shows the maximum output power on the different frequencies. This is quite misleading as I soon discovered. All FCC registered devices have information available on the FCC’s website including test reports showing the actual power output. Doing a search of the FCC ID AZ489FT4929, I discovered that the maximum output of the radio was 0.8 W which is far lower than the legal maximum.

After more research, I found the older manual for the radio and it appears that Motorola changed a few pieces when the new FCC regulations took effect including the chart; the old chart showed which channels were FRS and which were GMRS. The new chart was basically a waste because all the channels could be used by all users; some of the channels would have higher output. Motorola did respond to my claim that the manual was misleading by saying that the chart in the manual wasn’t there to indicate how much power the radios actually put out, but to show that it complied with the FCC maximum.

This newfound knowledge kind of bummed me out, so I went back to the drawing board and went through all the Motorola Talkabout radios (I like the design of the radios over other brands) and looked up the FCC ID of each one looking for the radios that had the highest output power (up to the legal limit). If my information is correct, the Motorola Talkabout T460 which has an FCC ID of AZ489FT4924 has a maximum output power twice that of the T260 (1.7 W). While I don’t expect to ever get the 35 mile range advertised with these radios, I at least could have radios with the highest power available.

I purchased a pair of the T460 radios and have now used the radios on a couple of trips and they are far superior to the T260 (and the old T5000 ones I had before). (While I did purchase these radios, Motorola generously sent me another pair of the T460 radios in response to my letter to them about the T260 manual). Specifically the T460 has an analog control for the volume making it easier to turn the units on/off and control the volume. They also have a feature called VibraCall which vibrates the radio the first time it receives a transmission if it hasn’t received a transmission in a certain period of time; this is handy if the volume is turned down or you happen to not be paying attention. Once the radio vibrates, you can ask the other end to repeat the message. The radios also have a weather radio, different call tones, and a few other features that are generally not of much use to me.

Pros

  • Highest power output of Motorola Talkabout radios
  • Water/splash resistant (IP54)
  • VibraCall
  • Analog volume control
  • Acceptable voice quality
  • Standby time allows for all day usage in my testing

Cons

  • Doesn’t come anywhere close to the advertised range

Summary

If you’re looking for relatively low-cost, unlicensed FRS radios, I think the Motorola Talkabout T460 are hard to beat. They have a decent range and a number of features that make them easy to use. Time, of course, will tell how durable they are and how good the range is in a variety of environments.

Review: Anker PowerCore 26800 Power Bank

On a recent camping trip, I brought along a few small power banks to charge phones and watches (we weren’t completely out in the wilderness and having a phone for pictures and emergencies is quite important). It was kind of awkward to charge the devices using 3 separate batteries. I decided to look for larger power banks that could charge multiple devices at once. Originally I was looking for one that could also power my laptop for a little bit, but decided that the number of times I’ve had to power it have been few and far between. Since I had good results with Anker products, I purchased the Anker PowerCore 26800 Portable Charger.

This charger is close to the largest battery that you can legally bring on an airplane, but weighs just over a pound. In addition to the 3 USB ports (many power banks just have 2), it has 2 micro USB ports for input to charge it faster. With a battery this large, faster charging is nice to have. The power bank is pretty basic; charge it up with the micro USB inputs (it doesn’t come with a wall adapter, so I just use the Anker 6-Port USB Charger to charge it) and then plug devices into the USB ports.

We used the power bank a number of times this past summer during another trip. I put it in my backpack with a few cables and during the day charged up our phones (even with new batteries, our iPhones suck down batteries when using GPS). Being able to plug in 2 devices at once was quite convenient. Also since the battery is so large, I think I only had to charge it once on a 2 week trip.

This battery has performed well and I anticipate using it on camping trips, family vacations, and having it around in case of emergencies. As I’ve switched to USB charging for as many devices as possible including flashlights, this battery can also be quite helpful in an emergency or a disaster.

Pros

  • Largest battery you can take on a plane.
  • 3 USB ports for charging devices.
  • Faster charging with 2 USB inputs.
  • Not too heavy.

Cons

  • Some may consider it a bit expensive for a battery.

Summary

This power bank has allowed me to consolidate power banks on trips. While it may not be the smallest, I don’t have to worry about it running out of power even if I charge a number of devices. It just works and the 3 USB ports make it more useful to me than other power banks I could have purchased. If you’re in the market for a power bank, I’d definitely consider this one.

Review: RTSystems ID-51APlus2 Programmer for Mac

[Update 04/21/17: I did receive an email back from the company on Tuesday wanting to assist me; unfortunately this message went to spam. Their support is definitely responsive and if I implied that they weren’t, I do apologize.]
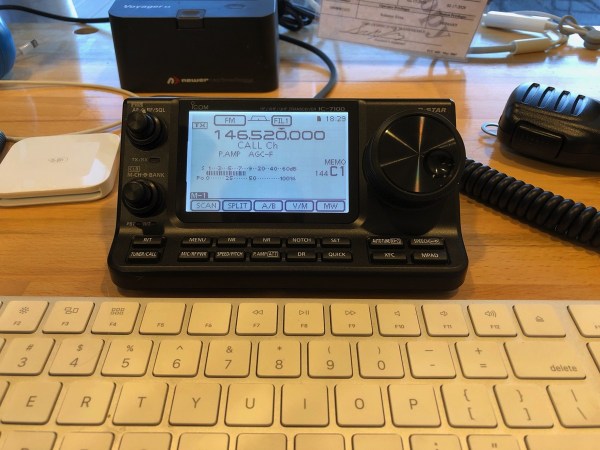
When I purchased my Icom IC-7100, I knew that I’d need software to program it as entering information for hundreds of memory locations would be impossible. There were 3 choices; one was expensive from ICOM, a free one (CHIRP) and the one that people seem to rave about from RT Systems. I had read that CHIRP didn’t work properly with the radio, so I went with the one from RT Systems. I bought the Windows version as no Mac version currently exists for it. The software was adequate, but nothing I’d write home about.

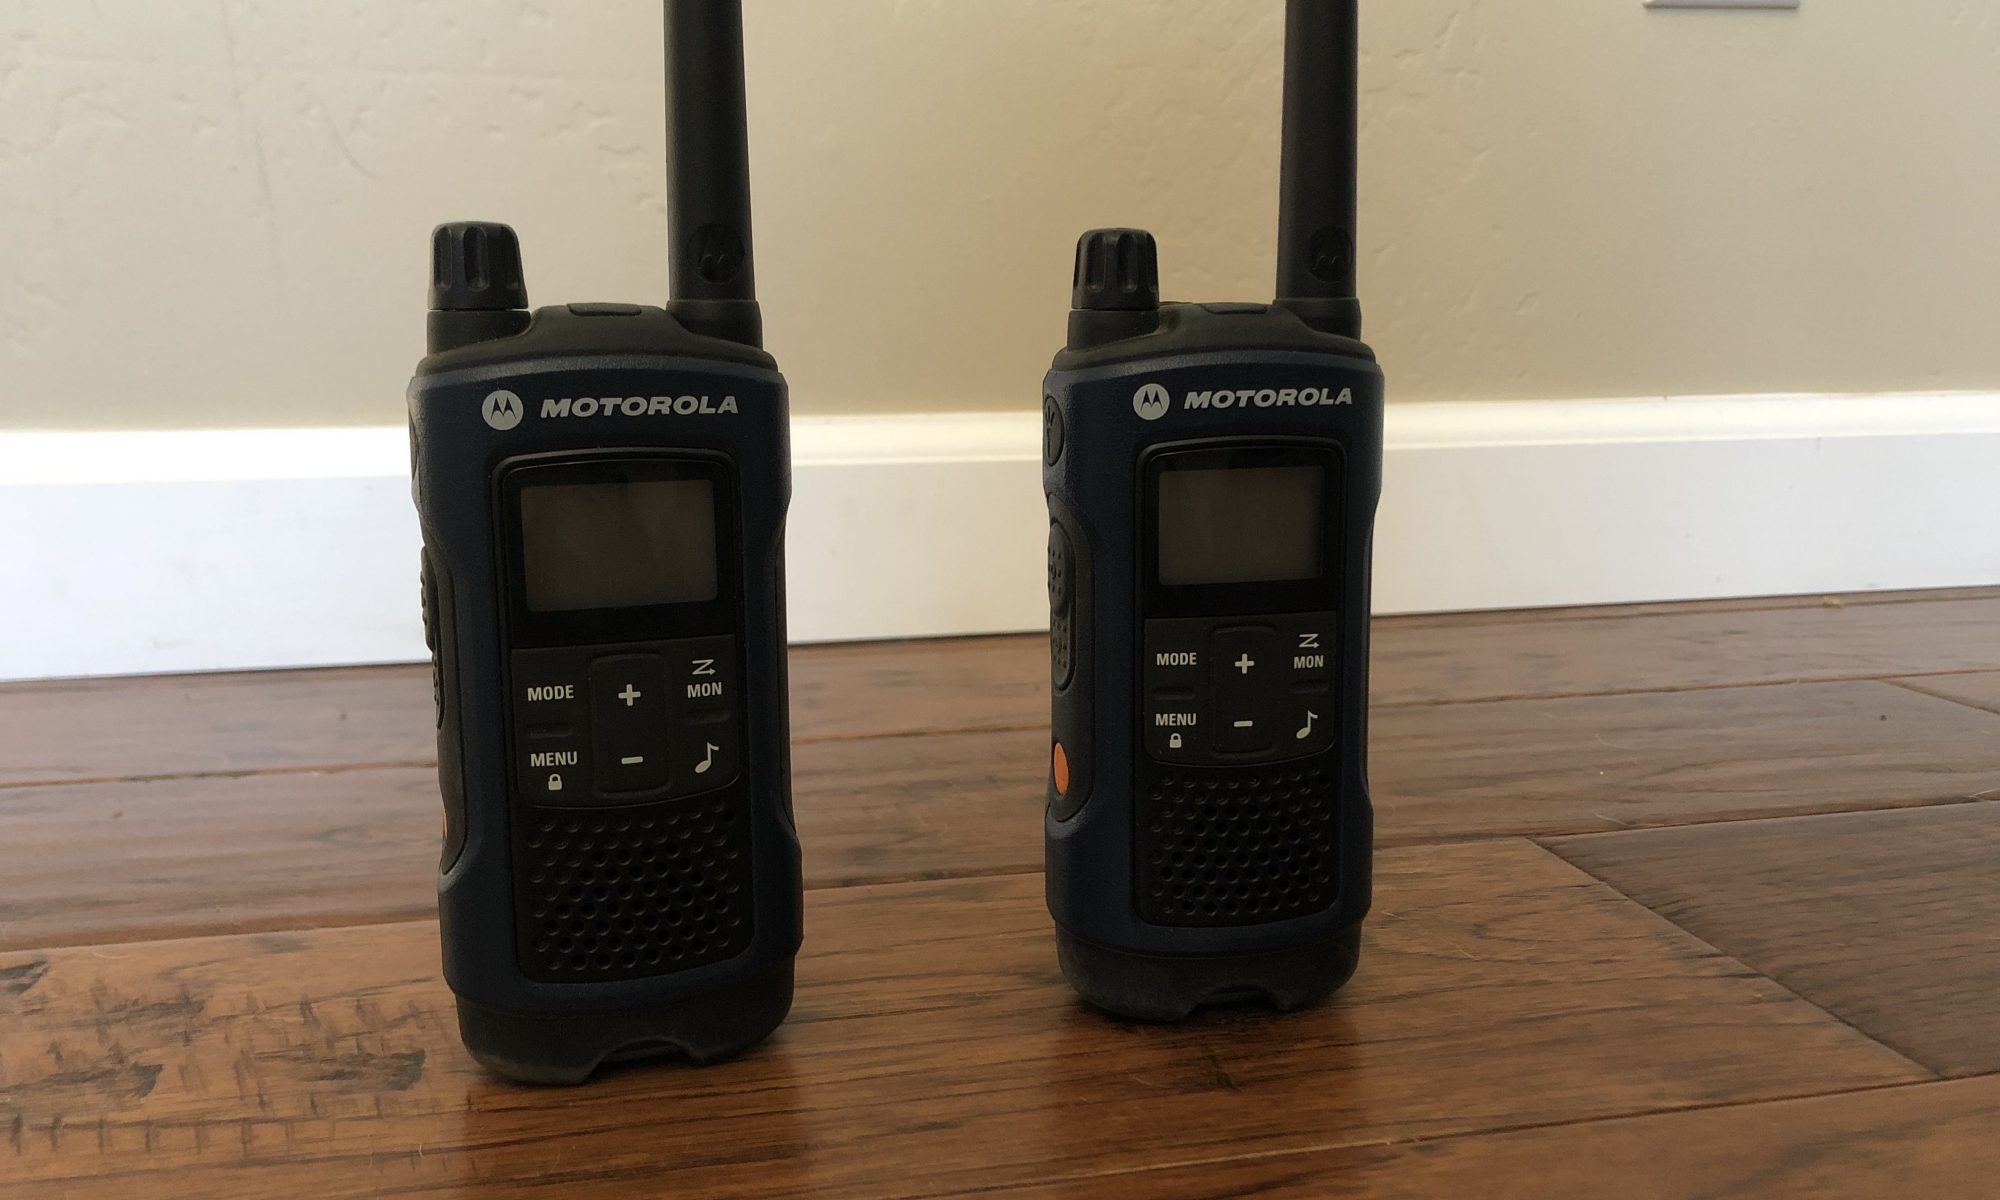
Since I wanted to use the same software (or similar) to program my new Icom ID-51A Plus2, I went with RT System’s new Mac version of the software.

The first thing that I had to get over with the software is that there is a different version for just about every radio. The cost for each radio didn’t bother me ($25 per radio); it was how the software was packaged. I would have expected to purchase one application and then pay a fee to unlock different radios. Instead, the company/author has chosen to do one application for each radio. Having used the software for two different radios, I can sort of see the reasoning as each radio has different options and some just don’t overlap. However, I still believe that having plugins would be a better experience for the user.

The second thing that annoys me a little is that I have to purchase a cable from the company. The IC-7100 is an exception as it has a USB port and the company supports it directly. My ID-51APlus2 came with a USB cable, but it won’t work with the software. I can understand that for radios that don’t come with a cable the company doesn’t want to have to support cables with crappy USB to serial chips, but if the cable comes from the manufacturer, they should support it.

I installed the software last week and was underwhelmed by the experience. The application is a Java application complete with a Java installer. I use a Macintosh for many reasons, among them is that I like the user interface and cross platform user interfaces just look bad. I received the cable last Saturday but didn’t get a chance to play with the software until Monday. I plugged in the cable and tried reading data from the radio, but the software said it couldn’t find the cable. I moved the cable to a different USB port (I tried with a USB-C to USB-A Apple dongle, a USB-C to 4 port USB-A hub, and a USB port on my Thunderbolt Display) with no change. I saw that there was a /dev/tty. port registered and the cable showed up in System Profiler indicating that the driver loaded properly. I sent email to the company and didn’t hear back. Yesterday I called the company and was transferred to Rob in technical support (Rob is also the lead developer; maybe Rob is the R in RT Systems). He wanted to connect to my computer using Team Viewer, but I declined and gave him all the information he needed (in a past life I wrote USB to serial drivers so I know my way around drivers). After a few minutes, Rob said that this particular cable seems to give them problems and he told me to check for updates. I did that and after installing it, the software saw the cable. Excellent! I hung up and let the software finish reading from the radio. Unfortunately the progress bar never moved, but the radio thought it was done. I called again and talked to a different person in support. The woman gathered information, then chatted with Rob and said that they were able to reproduce the problem. She said she’d call back when an update was available. Later that afternoon, I checked for updates and was finally able to read from the radio. (I did receive a callback this morning telling me about the update.)

Now that I was able to actually use the software, I exported memory locations from my IC-7100 (on Windows) in CSV format and imported them into the ID-51APlus2 programmer. Given that the software is made by the same company, I would have expected an easier way to transfer ALL the memory locations (I had to transfer 1 bank at a time) to a new radio. In addition, the software uses non-standard open and save dialog boxes which don’t allow dragging and dropping of files adding some hoops to import the memory banks. I wrote the data to the radio and that worked fine. As I worked on adding memory locations, I realized I wanted to move a bunch of locations to a “memory bank”. Normally I’d expect to be able to select a bunch of locations and change them all at once. Unfortunately that didn’t work and I had to go through roughly 200 memory locations one by one to change the bank.

I am impressed that the software covers lots of settings on the radio, some that I haven’t even discovered yet. This software is functional, but is definitely not a joy to use. Luckily it isn’t a program that is used daily.

Main Screen
Settings

Pros

  • Allows you to easily configure all features of the radio including memory banks and settings.
  • Allows importing and exporting of memory locations to move data between radios.
  • It works on a Mac.
  • Extremely responsive telephone support.

Cons

  • The user interface is just awful. There is no way to sugar coat this.
  • Non-standard user interface. The tabs aren’t Mac tabs. There are indicators for CAP NUM and SCRL which don’t do anything or affect current state.
  • No tooltips.
  • No way to change one option for multiple memory locations at once. For instance, if I want to mark a bunch of memories to skip or move them to a bank, I can’t.
  • There is no undo.
  • It is unpolished; I can seize a modal dialog box and various controls overlap.
  • Doesn’t work with the cable that comes with the ID-51APlus2 radio.
  • Initial problems getting started which required 2 updates to work.

Summary

I’m not sure if HAM radio operators are just happy to have any software or if they truly have not used good looking software, but so far I’ve only seen one application that looks like a quality piece of software. The RT Systems programmer for the Mac is barely usable as are most cross platform programs, in my opinion. If the software had cost a little bit more in order to cover the costs of a really polished program, I don’t think I’d hesitate to purchase it. Aether costs $40 and I didn’t hesitate to purchase it because it was heads above the competition in design and usability.

If you’re a Mac user and need to program a radio, CHIRP might work, but you’ll find that the RT Systems software does more. You really don’t have a choice in the matter besides using Windows and then you’d use the Windows version of the software. I understand that the market to sell the software is quite limited and dying off (literally), but I really expect more when I purchase software. I can’t recall an application on my Mac that has a worse user interface.

As much as it pains me to do so, I have to recommend this software as the easiest way to program the ID-51APlus2 radio and probably other HAM radios.

Review: Irwin Self-Adjusting Wire Stripper

Like many people, I like to have the right tool whenever I do household projects. So when I see a tool that may come in handy, I think about purchasing it for my collection. While I might not have a need for it today who knows when it will come in handy in the future.

In December I saw the IRWIN VISE-GRIP Self-Adjusting Wire Stripper on sale and it looked interesting. The theory behind this tool is that you put in any gauge wire and it strips it without nicking the wire. If it worked as advertised, this tool could have saved me countless hours over the last 20 years of being a home owner. I’ve installed outlets, switches, ran Cat 6 cable, installed landscape lighting, ran speaker wire, and numerous other projects that required me to strip wire.

When I received the stripper, I looked for scrap pieces of wire in my random collection of parts. I tried the stripper on different stranded and solid wire. I put the wire in the tool, squeezed the handles and the wire was effortlessly stripped. After I got used to the tool (it didn’t include instructions and I was at first confused as to how it worked), all I wanted to do is find wire to strip! Whatever wire I threw at it, it did a flawless job at taking off the insulation and not touching the wire. I was in awe that the tool worked so well; it was almost too good to be true.

I do have to tug on the side that isn’t getting stripped so that the wire doesn’t move, but other than that the tool is simple to use. I’m working on putting all my HAM radio equipment in a transportable box (more on that another day) and everything I’ve read says to use Anderson Powerpole connectors. Just about every installation video for these connectors uses a tool similar to these self-adjusting wire stripper; I am very excited to actually use the tool in a project and not just testing it!

Pros

  • Easy to use.
  • Fast.
  • Strips wire without nicking the wire.
  • Works on every gauge wire I’ve tried.

Cons

  • Didn’t purchase sooner.

Summary

If you don’t already have this tool or a similar one, I’d recommend purchasing it even if you don’t have a need for it today. The current price is about $20 and after using it, I would gladly pay the current price. Any homeowner that does any type of work with wire will wonder how he or she lived without this.

Review: SyncWire USB-C Ethernet Adapter

Now that I have a MacBook Pro with only USB-C ports and no USB-C peripherals, dongles are the only way to connect devices. I wrote about dongles last year and have been happy with just a USB-C to Thunderbolt and a USB-C to USB-A dongle. I haven’t seen the need for additional dongles, yet, but with the hopes that Apple will release its own display instead of promoting the LG UltraFine display I’ve been revisiting that.

With my current Thunderbolt Display, I have Ethernet, FireWire (I don’t use it), Thunderbolt and 3 USB-A ports. If Apple follows LG’s lead on a new display, the display will only have USB-C ports. If and when I purchase this magical display that doesn’t exist, yet, I’ll have to figure out how to connect my array of devices. Currently I am connected to the network through the Ethernet in the display which would go away with a new monitor. I always prefer wired networking over wireless networking, so when I was offered a SyncWire USB-C to Ethernet Adapter to review, I jumped at the opportunity.

An Ethernet adapter is pretty basic; plug it in and it works. That was definitely the case with the SyncWire adapter. There were no drivers and it was instantly recognized by my Mac.

IMG 0155 3

There are only a few thing that I care about for Ethernet:

  1. Does it work?
  2. Is it reliable?
  3. Is it fast?

For the first two, I’ve been using the adapter for 5 days now and I haven’t seen any hiccups. I disconnected the Ethernet from my display and turned off WiFi. I do regular backups and transfer a decent amount of through it which should put the adapter through its paces. For the last one, the test I used was iperf3 running between my MacBook Pro and my Mac Pro on the same LAN connected via a Ubiquiti UniFi Switch. The result is that the adapter could transfer data at over 900 Mbits/sec. This is definitely not bad. On WiFi, I can get about 360 Mbits/sec. When my MacBook Pro is connected to the Thunderbolt Display, I see about 935 Mbits/sec. I would have expected better throughput with the adapter, but in the real world I’ll likely never see sustained speeds anywhere close to this.

Screen Shot 2018 04 03 at 9 23 58 AM

So far the adapter meets my three basic needs for a network adapter.

Pros

  • Compact size
  • Reasonable price point
  • Appears reliable
  • Decent transfer speeds

Cons

  • Unknown long term reliability

Summary

While I wasn’t looking for a USB-C to Ethernet adapter right now, this would probably have been on my shopping list when I get monitors that only have USB-C ports. When I purchase equipment for my computer, I tend to goto brand names that I have heard of before as I don’t like messing around with shoddy parts just to save a few dollars. I chose SyncWire for a few Lightning cables as they were MFi certified and were on sale. Prior to that, I had never heard of SyncWire and definitely wouldn’t have bought their adapter. Now that I’ve had a chance to try out their USB-C to Ethernet adapter, I’m not sure I can recommend the product. While the price is right and it performs well, the big unknown is how reliable is the adapter in the future. If I was going to spend my money on an adapter, I’d probably look at a more dock like adapter that had USB-A ports in addition to Ethernet.

The purchase price of the adapter was refunded to me in exchange for writing this review. However, it didn’t influence what I wrote.

I was asked to post a review of this product on Amazon, but it is against Amazon guidelines to post incentivized reviews, so I posted this review here.

Review: PhotoSweeper

Back in December when I was scanning in old photos, I found that I had some of the photos already in digital form leaving me with duplicates. The photos weren’t always of the same quality and I had to manually go through to pick the best one. I knew that there were programs out there to find duplicates, so I started searching. After a little while I stumbled upon PhotoSweeper and gave it a test drive.

The first step in using PhotoSweeper is to select a bunch of photos. In my case, I went ahead and selected all the photos.

PhotoSweeper

You then click Compare and select your options for comparison.

Compare

I selected a pretty loose matching criteria knowing that I would get a lot of matches. After you start, you see the blurred thumbnails of the photos as it goes through and does the comparisons.

Comparing

The number of photos and your matching criteria determines how long the process will take. The first time I ran it, I did a small sample just to see the results. I was amazed at the results as it found matches where the photos were scanned at different times, the color was different in them and sometimes the photos were cropped differently.

Duplicate

You then walk through the groups of photos and select the ones to mark for deletion. The process takes awhile depending on the number of photos you are comparing, but most of the matches really are duplicates or close to being duplicates. Once you hit Trash Marked, PhotoSweeper opens Photos and moves the photos you marked to its own album and gives instructions on how to permanently remove the photos.

Warning

The process is quite simple and straightforward. While the program may seem like a use once application, I’ve run it a few times just to see if I missed anything. The side by side comparison of matches is also quite useful to see if you want to remove photos that are not exact duplicates, but are close enough. In my match example above, the photos are quite close and I’d be fine with keeping just one of them. (If you can’t tell, the photo on the right shows a little bit of the electrical panel in the left side of the photo.)

Pros

  • Integrates with Photos app to read photos.
  • Creates new album for photos marked as deleted.
  • Many options for photo matching.
  • Works on JPEGs and HEIC (new image format used on iPhones).

Cons

  • I’m not a fan of the dark interface. I know this is more the norm in applications today, but I just don’t like it.

Summary

After I tried PhotoSweeper (you can get a trial version from the developer’s website) in a basic test to see if it would work, I immediately went to purchase it on the Mac App Store (I like the ease of use of the App Store and while I know that developers take a hit, the seamless process especially using Touch ID on my MacBook Pro takes the thinking out of the purchase.) Much to my surprise, I had already purchased the application! I’m not quite sure when or why I had purchased it. The $9.99 price tag is a small price to pay for an application that does exactly what it says it will do and does it well. I have no hesitation in recommending this application to anyone that has a photo album. Even if you aren’t scanning in photos, using the side by side comparison tool makes it easy to see if you want to remove similar photos.

One week with the ICOM IC-7100

After deciding on a ham radio to purchase, I bought an ICOM IC-7100 from GigaParts. I could have purchased it locally by going into Ham Radio Outlet, but I didn’t want to leave the house and my first interaction with the store wasn’t very helpful. In addition to purchasing the radio, I knew that I also had to purchase a power supply. I went with a TekPower TP30SWV as it got decent reviews and looked like it would meet my needs.

Last Friday the radio arrived, I opened it up and put it on my desk. Unfortunately Amazon hadn’t delivered the power supply making the radio a nice looking paperweight for awhile! Looking at the connectors on the radio, I knew there was another piece I needed to solve and that was how to connect the radio power cable to the power supply. I went to Home Depot and bought some crimp connectors. Once the power supply arrived and I was able to determine the size of the posts on the back of it, I went ahead and crimped on some lugs.

Power Supply Connectors

Radio and Power Supply

I hooked up my antenna (I have it mounted outside on the deck and fed into the house), turned on the radio (I had already gone through the manual a few times), tuned it to a repeater frequency and waited. Later that evening, I decided to dive into programming some repeater frequencies using the RTSystems software I purchased to go along with the radio (I’m definitely not a Windows fan, but the choices are limited in programming the radio using a computer). After playing around with the radio for awhile, I happened to tune to the national 2m simplex calling frequency and had a nice chat with someone about 10 miles away. While this wasn’t a huge distance, I was pretty impressed as the handheld I had made it hard to basically reach anyone.

Controller

The built in speaker is pretty clear and others have said that I’m clear (depending on the repeater I hit). The controls feel solid and the screen is quite readable. I really like that the controller is small and can sit just behind my keyboard; it doesn’t clutter up my desk and lets me play with it while I’m working.

The radio has far too many controls to understand all of them right now, but I’m trying to learn bit by bit. It is no wonder that a company makes a simplified manual which I’ve put on my “to buy” list.

So far I’ve been playing with 2m and 70cm on both FM and D-Star. I’ve made a few contacts and done a bunch of listening.

Desk and Radio

Pros

  • The separate controller and radio makes it easy to have the controls sit right on my desk without cluttering it.
  • Touchscreen interface with context sensitive buttons helps navigate the large number of features.
  • Microphone feels quite sturdy. Much more of a quality product than the microphone I have for my Baofeng.
  • Ability to change transmit power makes it easy to reach repeaters. Some have said that where I live is a difficult RF area due to the hills.
  • Pre-amplifier helps to bring in somewhat weak signals.
  • Ability to add a name to each memory location is extremely convenient. The Baofeng lets me display a name or the frequency, but not both.
  • Programming repeaters on the radio is straightforward; not as easy as using the programming software, but not really difficult.
  • Ability to easily tune to weather channels.
  • Can adjust various filters, though I’m not quite sure how much use those are in UHF/VHF and repeater use.

Cons

  • D-Star interface (or maybe it is just D-Star) is not very intuitive. I’ll write about this separately.
  • The programming software is a “clone” in that it completely overwrites the radio. So I have to read from the radio, modify it and then write it back otherwise I lose anything I’ve done on the radio.

Summary

I think I’ve made the right choice with this radio. It seems to have everything I need and is performing well. We’ll see what happens when I start getting into HF, but for UHF/VHF I don’t know what else I need or would want. The touchscreen interface is easy to use and while my only other ham radio experience has been a Baofeng, I can see how the interface is more convenient than conventional interfaces that require repeatedly pushing buttons to cycle through options. Seasoned operators might be used to other rigs and could probably tell me the limitations of the IC-7100, but as a starter radio this fits the bill.

There is no comparison between this radio and the cheap Baofeng I have. The Baofeng is almost painful to use while this is fun and easy to use. I’m looking forward to getting a handheld radio and based on my initial impressions of this ICOM radio, the ICOM ID-51A PLUS2 will be the ready for me.