Review: Ender 3 Direct Drive Upgrade Kit
I’ve been 3D printing for about 3 years now and anyone that has taken up this hobby knows that there is a lot of fiddling and tweaking to get the kind of prints you want. When I bought my Ender 3 Pro, I knew I wouldn’t be satisfied with the stock printer as I had read about so many nifty little upgrades. Over the years I’ve added things like an EZRStuder, a glass bed, a filament holder with bearings, a Capricon Bowden Tube, etc. With these upgrades, I’ve been pretty successful at printing PETG, PLA, and TPU filament. Since most of my prints these days are functional prints, I really haven’t tuned the printer for the best quality.
This summer I went to print some battery caps for my Ryobi batteries out of Sainsmart TPU like I had done many times and had the hardest time getting it to print well. I replaced the Bowden tube, used a glue stick to get the print to stick, changed settings in Cura, and various other things I could think of really to no avail. I was so frustrated that I ordered an Ender 3 Direct Drive Upgrade Kit and thought that it would solve all my problems. After reading a bit more about this and how it could lead to other problems due to the weight on the gantry, I cancelled my order and just lived with the mediocre prints.
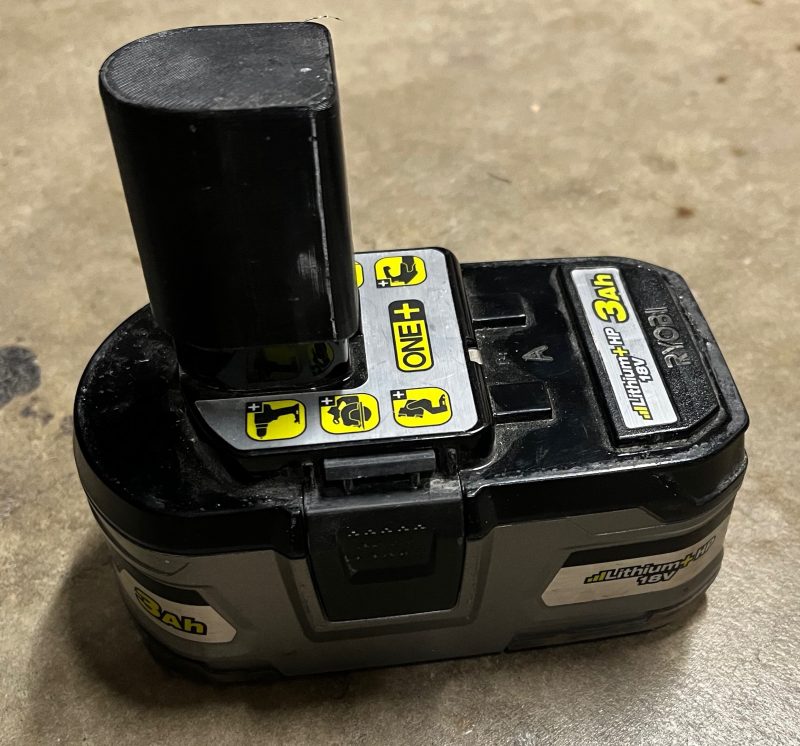 Ryobi Battery Cap
A few weeks ago after reading in the Reddit forums, I decided to give the upgrade kit another try. It arrived pretty quickly, but I had to wait to install and set it up. Installation was a breeze, but it turns out that I made enough changes to the printer that the prints (even with regular PLA filament) turned out poorly. I tried to tune my Cura settings, but that didn’t help. I went back and tightened the belts, the eccentric nuts, re-leveled the bed, changed the nozzle, reset the Z probe offset, and finally got some decent prints.
After all that work, I went ahead and started printing various pieces in PLA, TPU 95 and TPU 85. All of the pieces came out good enough for what I needed. I still can fine tune the Cura settings, but the direct drive has allowed me to print faster with fewer problems. Since it is cold in my garage where my printer is, I decided to forego the PEI bed I’ve been using and simply use a glass bed with a glue stick.
The direct drive upgrade has gotten me thinking about an Ender S1 Pro printer. However, it is really hard to justify that kind of money when I don’t print that often. The $30 I spent on the direct drive upgrade was a much better investment because a new printer would bring different issues and would still require me to fine tune various aspects of it.
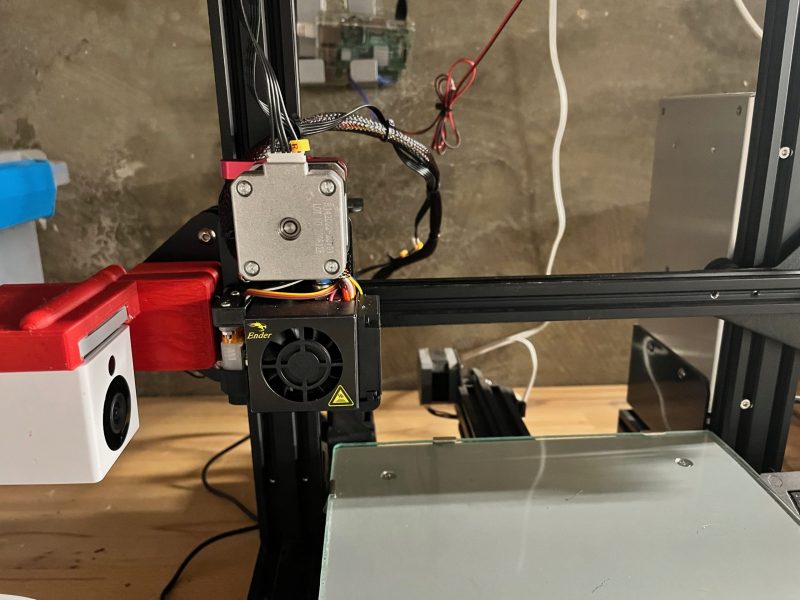 Installed Direct Drive
Pros
- Inexpensive upgrade
- Easy to install
- Easier to print flexible filaments
- Eliminates Bowden tube issues
Cons
- Requires tuning the printer again
- Extra weight on gantry could cause quality issues with prints
- Still has a piece of tubing between the extruder and the hotend (could get clogged)
Summary
If you have an Ender 3 printer, this upgrade is a no brainer. Even if you don’t print flexible filaments, it is so much easier to print with PLA when the filament goes directly into the hot end. Of all the upgrades I’ve done to my printer, this may have given me the most bang for the buck. If I had gotten this before, I could have passed on the EZRStruder and the Capricorn tubing.
One caution if you do get this and that is that it may take some time to tune the printer back to the way it was. It took me about 5 hours to get prints working again.
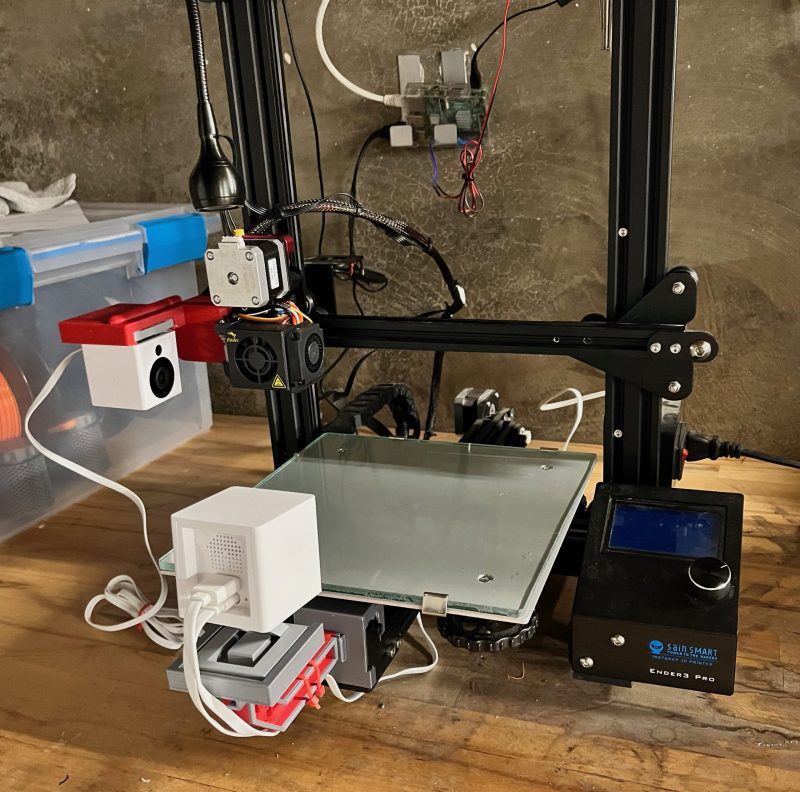 3D Printer