About 16 years ago, I was searching for a receipt and couldn’t find it. I thought there could be a better solution and searched for an application for the Mac that would allow me to store receipts. Unfortunately, at the time I couldn’t find anything so I decided to write ReceiptWallet.
I made many decisions writing ReceiptWallet that turned out to be very forward thinking that would allow me to switch how I tracked receipts in the future. I decided on using PDFs for storing everything (later I allowed for storing zip files and some graphics formats) and storing the files in the file system in a file bundle instead of embedding them in a proprietary database. In addition to storing metadata in a database, I added it to the PDFs that could be extracted without running my software. This was problematic as sometimes the PDFs that were imported either didn’t accept being modified with the metadata or the PDFKit APIs would crash.
ReceiptWallet was quite successful for me, but other things (like being a father) made it hard for me to keep up with it as a side project. So I decided to sell it and it became Paperless. Over the years I’ve done some work to help them with the product.
At the end of last year I was looking at Paperless as I used it daily and started thinking how long it would be around. It hasn’t made it to native Apple Silicon, yet and the user interface is becoming very dated. After chatting with a friend that said he just uses Spotlight to find things, I started looking to see if I could recreate the main features that I used in Paperless in the Finder. I also looked at some other apps that were/are competitors to Paperless and didn’t quite find what I wanted. I used the software for two distinct types of filing; the first was for manuals and documents. The second was for receipts and taxes.
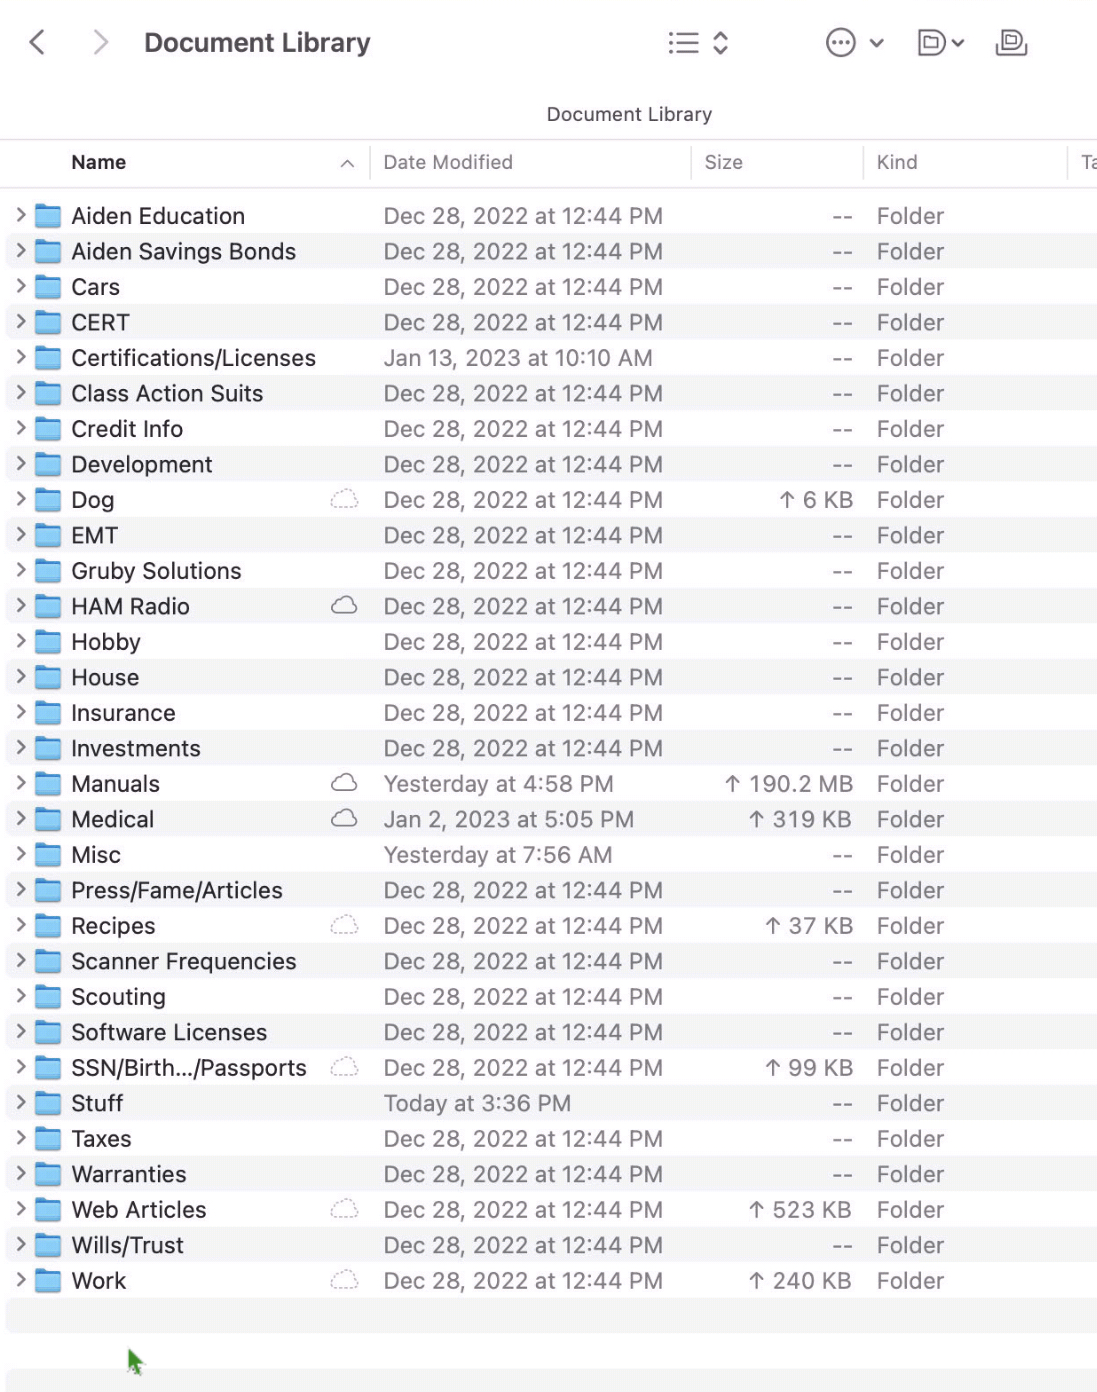
For the first type of filing, I had already started copying certain documents to iCloud Drive such as manuals, certifications, vaccine records, etc. so that I could access them when not at my computer (I had started work on an iPhone version of ReceiptWallet that synced, but didn’t make much progress on it as storing all those documents on the iPhone would quickly eat up the limited storage at the time). I went ahead and made a directory called “Document Library” and then put folders in it. I then transferred all the documents out of my Paperless document library into folders and sub folders in the filing system. It took a few hours, but I managed to classify all my documents. By placing the new “Document Library” on iCloud Drive, I immediately gained mobile access without a special application. I could have used Finder tags, but decided that the directories and searching would be more than adequate. One concern is backing up iCloud Drive as it doesn’t directly appear in the file system. Luckily it is there under ~/Library/Mobile Documents/com~apple~CloudDocs and can be backed up with Carbon Copy Cloner or other tools. Note, however, that if you use tags and backup files to network volumes, CCC by default won’t copy the tags.
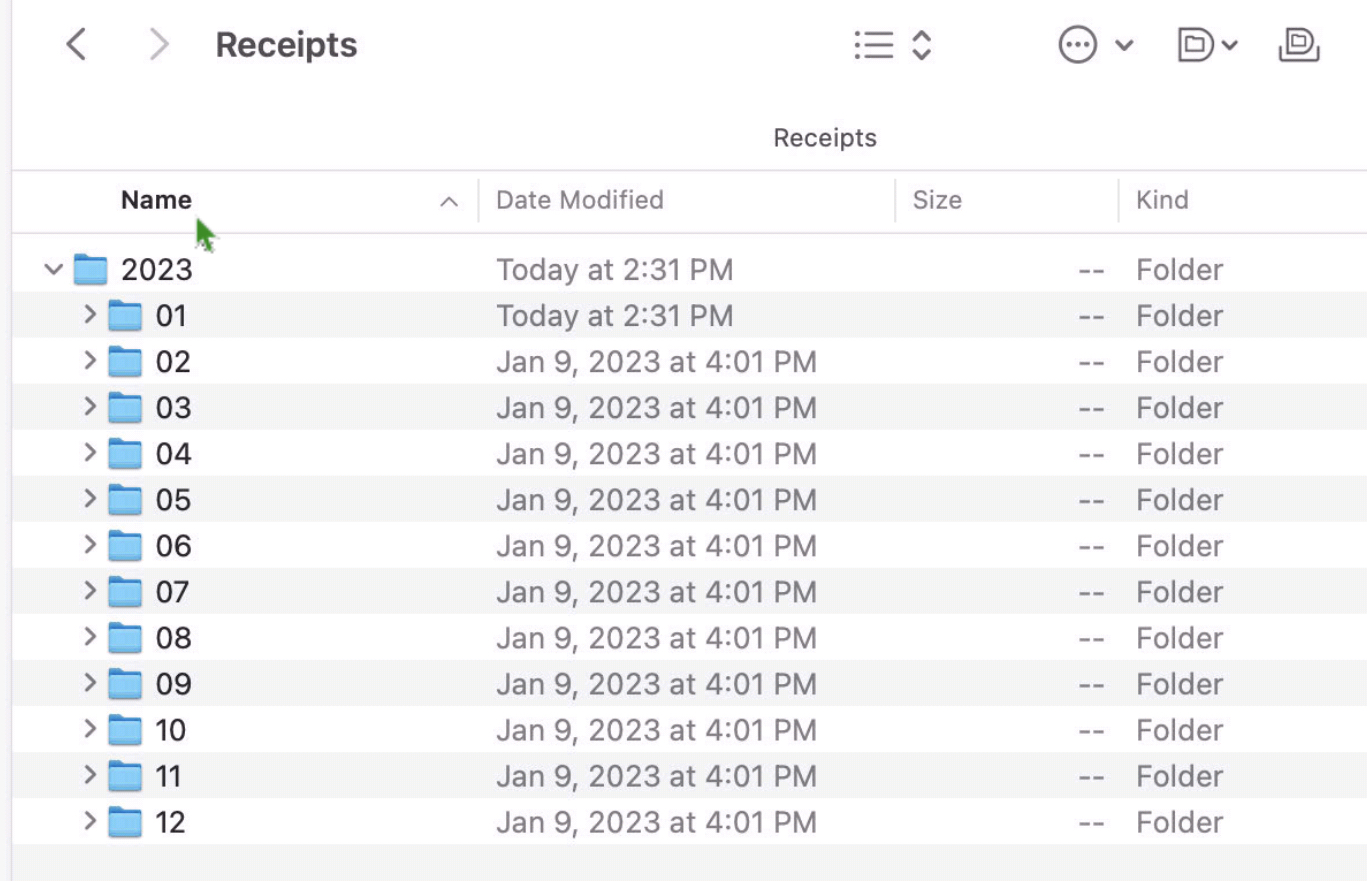
For the second type of filing, receipts, I looked at what I was doing in Paperless. I organized receipts by year and then added categories to them in the interface. In reality, the only reason to add the categories was in case I needed to find a receipt for tax purposes. So I setup a folder called Receipts, created a 2023 folder and then a folder for each month under it. Not strictly necessary, but it is easier for me to open a folder with maybe 25-30 receipts than one with 500. Now all I do is scan or save receipts to the right month and I’m done. I don’t worry about filling in all the fields that I did with Paperless such as category, payment method, or amount. Since the folder is in iCloud Drive, I could just snap a picture of the receipt from my phone, save it and be done. I don’t do that, however, as I like the better quality of a scan, my scanner software does OCR, and I still enter every transaction in Banktivity. I do apply tags to certain transactions that are business or tax related which is kind of handy and the tags are visible on my iPad.
Am I going to miss Paperless? It does seem like an end of an era for me, but by simplifying how I handle receipts and documents will hopefully lead to time savings in the future.
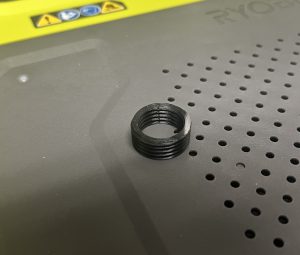
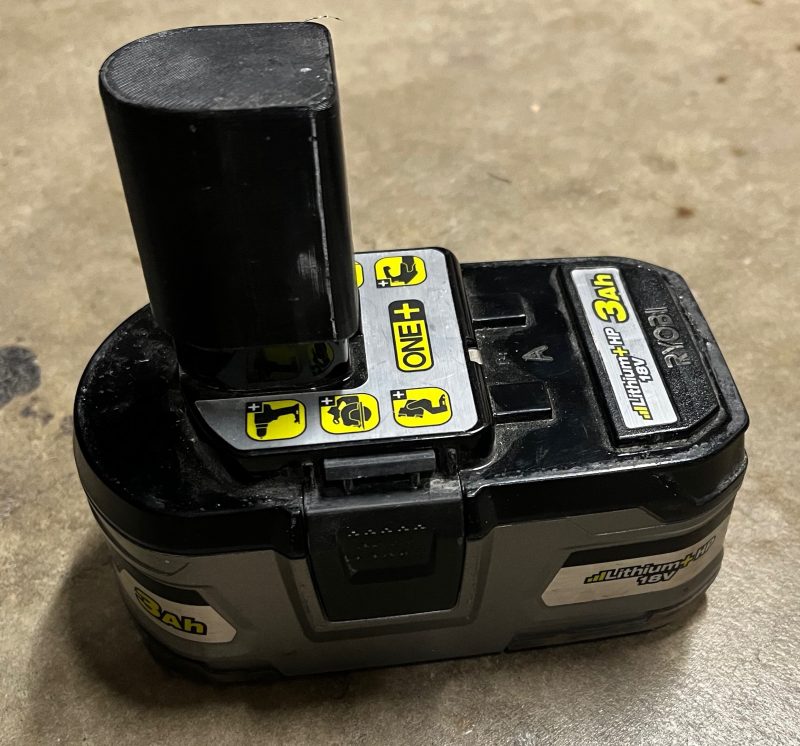 Ryobi Battery Cap
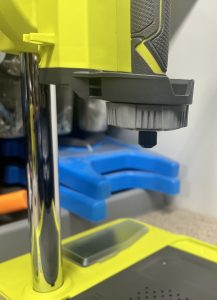
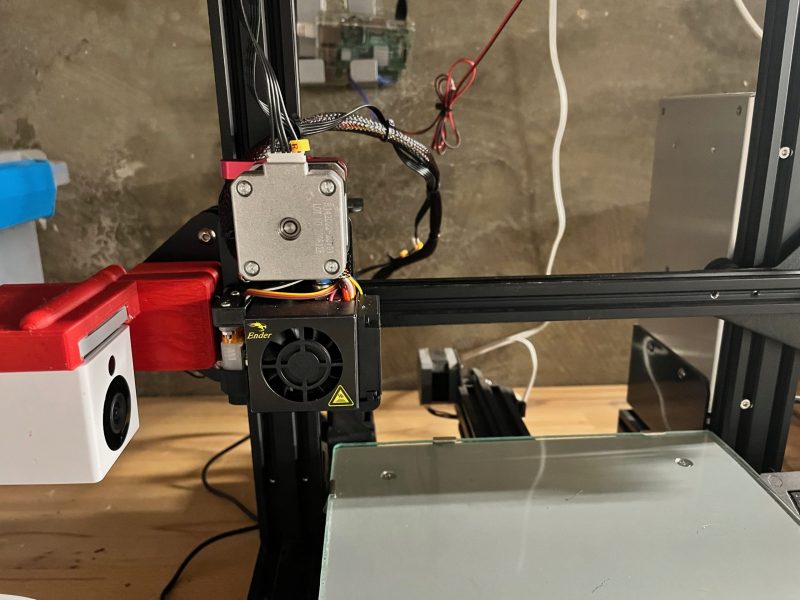 Installed Direct Drive
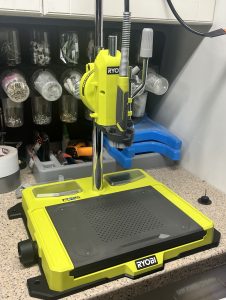
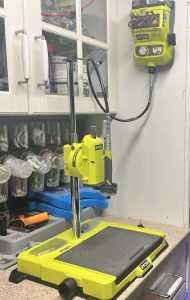
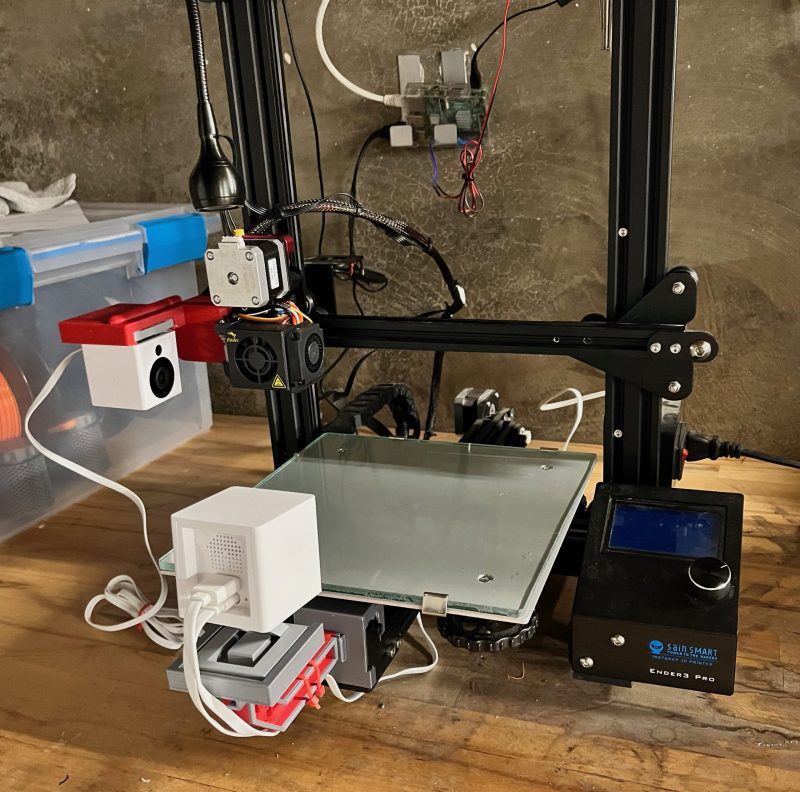 3D Printer