Years ago when 3D printing started to become mainstream, I thought the technology had its place for prototyping, low volume manufacturing and printing replacement parts for appliances and other things. In my ideal world, instead of companies selling replacement parts for say a refrigerator, they could license their designs and parts could be printed at a local hardware store or the like using a variety of materials. Companies could still make money on the parts, but they wouldn’t have to stock them or ship them. In addition, parts for discontinued products could be made prolonging the life of products.
As the price of 3D printers came down and became easier to use, they started appearing in schools and homes. My son started making trinkets in a class he took and I dismissed the low end 3D printers as toys. While they may have been relatively inexpensive and easy to use, I couldn’t imagine a real use for one despite my son asking if we could get one a few times.
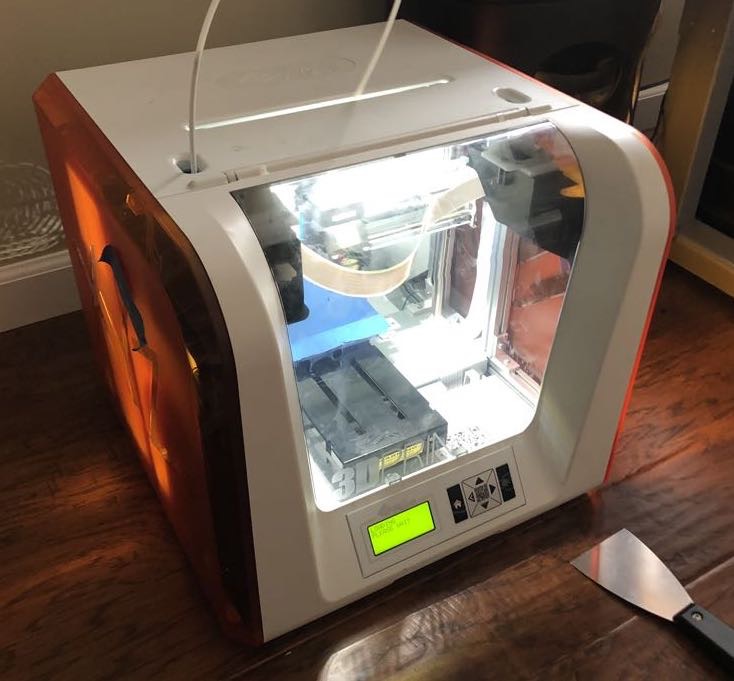
A few weeks ago, a neighbor/friend of mine gave us a 3D printer that he had for awhile, but rarely used. He gave us a XYZ Printing DaVinci Jr. 1.0. This printer is a very consumer friendly printer with very few settings to mess up, I mean configure. One downside of the printer is that you have to purchase the filament for printing from the company as there is an NFC chip in each spool that tells the printer some parameters about the filament (yes, there are hacks to get around this). For someone just starting in 3D printing, I saw that as a plus. Getting it setup should have been easy, but was quite frustrating. I made an adjustment to the Z offset and my son suggested we use blue painter’s tape on the bed which worked quite well.
Now that we had a 3D printer in the house, I didn’t want to make trinkets; I wanted to design and make things that we’re useful. My son showed me TinkerCAD that he uses to make things and I took to it pretty quickly. The last time I touched a CAD program was 25 years ago in college and that was quite painful. TinkerCAD is easy to use and I got used to looking at designs in 3D.
I’ve spent a few weeks designing things and printing them; my skills are getting better and I’m not sure there is an end in sight! I didn’t know that I could solve so many problems by making parts. I also didn’t know that I had so many problems before I started looking for them!
The sky is the limit and I’m going to keep designing and making things!
Here are a few pieces that I’ve made:
Eagle Scout Award Holder
With my new Scout uniform, I didn’t want to put holes in it with pins. On formal occasions, I wear my Eagle Scout pin and I wanted a solution so that I didn’t have to pin it to my uniform (I can never get the holes right when I put things back on). This design has a place for me to put the pin through and then I put a magnetic name tag backing on it.

Knife Sheath
When we go camping, I have a separate knife I use for cooking. I had this wrapped in cardboard, but I wanted something more permanent.


Outdoor Light Stake
On our front walkway, I have low voltage landscape lights. One of the lights I’ve knocked over a few times breaking off the stake that holds it. The lights aren’t made any more and getting a replacement stake could be hard. I’ve fashioned a few holders, but they haven’t worked well. So I decided to make my own. I printed this with filament that I’m sure will breakdown at some point (it isn’t outdoor rated), but I can print another one later with the correct filament when that happens. This is exactly one of the uses I described at the beginning of this post; replacement parts. Instead of pounding the stake into the ground, I dug a hole, put it in and then packed dirt around it. It seems to be holding up.


Subaru Impreza Phone Cable Holder
My car has the USB ports for connecting my phone in the center console where I think they expect you to place your phone. This isn’t convenient for me and I’ve always put my phone in front of the gear shift and snaked a cable from the console to that spot. In order for the cable to stay there when my phone isn’t plugged in, I had a wire that I jammed in between two pieces of plastic. I could have glued a holder there, but I didn’t want to do that. So I designed a hook that I was able to push into the spot where I had the wire. It’s been holding up quite well and almost looks like it belongs.


Luminoodle Light Hooks for a tent
I purchased a Luminoodle LED strip light for camping and found that there weren’t enough hooks to easily set it up in my tent. I came up with a design to hold the lights and attach it to my tent. It took several iterations to get exactly what I wanted, but this may be my best work yet. The design is simple, but works quite well. I printed a bunch of them and put them in my 2 tents so that they just stay with the tent.


Hi Scott, great post about your 3D printer! Looks like the like to TinkerCAD has a typo.
Hi Splons,
I’m glad you like my post. Link fixed!