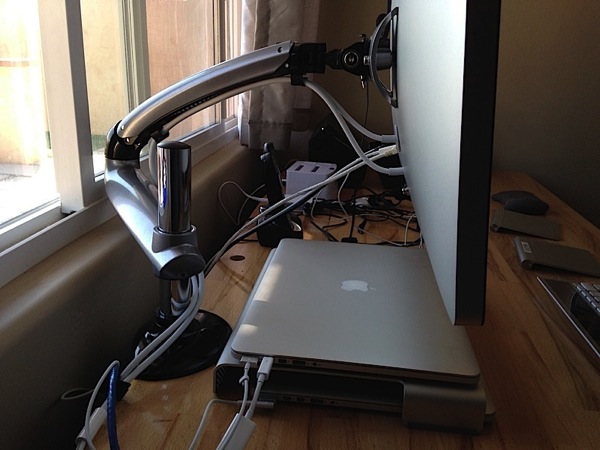
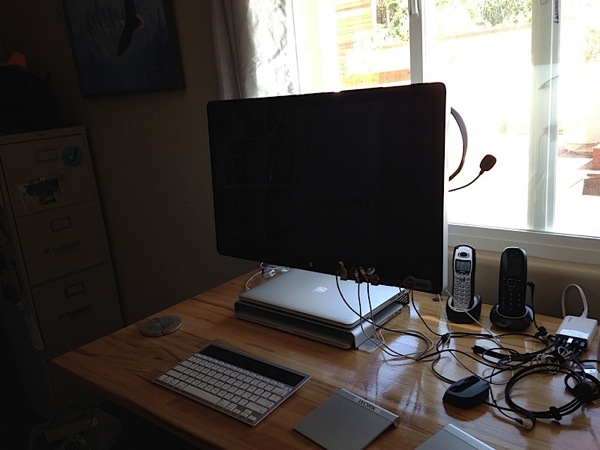
I’ve been sitting on an exercise ball for two years instead of a chair at my desk and have grown used to it. However, lately my hip has been hurting me, so I decided to look into a standing desk. I wasn’t quite sure I wanted to commit to a standing desk, so I started looking at what pieces I could use to test the theory. I was a little too quick on the draw and bought a Freedom Arm for iMac to allow me to raise my monitor up off my desk. I was expecting it to raise the display high enough that I could stand, but its rise was a maximum of 8″ where I needed about 20 inches off the top of my desk.
After I made the “mistake”, I realized that having the ability to move my monitor around wherever I wanted would be useful even if I didn’t like a standing desk.
I received the arm last Friday and thought installation would be pretty straightforward. I was, of course, wrong. The first tricky part after taking off the stand on my Apple Thunderbolt display was locking the connector (meant for a VESA adapter). You have to use a card to push a lever in the display. This isn’t a knock on the monitor arm, but something that was a bit difficult.
After locking the connector, I screwed in the adapter plate that came with the arm into the display. When it came to attaching the arm to the plate, I ran into problems and ended up taking off the plate. Turns out the holes for the screws were messed up and the screws were difficult to turn. I tried my best to screw them in, but wound up snapping the head off one of the screws. So now I had a mess on my hands and really wanted to get the arm setup. I spent a few hours trying to get the screw out and managed to simply cut off the head and drilled out the screw. I was going to have to wait until Monday to contact the company.
I was giving up and had to get the stand on my display back on; this proved to be another problem and I took apart the display to see what I was trying to press to get the locking connector to retract. That was successful and I was back to square one.
Not being content on waiting, I decided to take the adapter plate to Home Depot and see if I could get a tap for the screw and re-tap the hole. A very nice associate helped me figure out the screw size (it was an M6 screw) and found me a tap kit that included a hardened drill bit and the tap. Once I got home, I was able to re-drill the holes and tapped the holes without a problem.
I continued putting the arm together and was done in a relatively short amount of time. After the initial problem, I didn’t encounter any other issues with it.
Now that I’ve been using it for a few days, I’m very pleased with the flexibility of the arm and how sturdy it is. Any type of monitor arm is going to have some wiggle to it when typing, but that is expected due to it being cantilevered.
Even if this doesn’t work out for my standing desk, having the arm and being able to position the monitor will be worth it.
Pros
- Sturdy
- Comes with adapter plate for older iMacs and the Thunderbolt display
- Reasonably priced
- Highly adjustable
Cons
- The screw holes in the adapter plate I received weren’t tapped well.
Summary
If you have an iMac or a Thunderbolt display and want a little more space on your desk or want to be able to easily position your display, this arm will easily meant your needs. There are other monitor arms out there and if you put a standard VESA mount on the display, your choices grow even more; however, for the cost, the arm is a great value. My only caution is that if you have problems with the screws, stop and contact the company; don’t do what I did and cause myself more work.


How about some pictures.
Sure thing; I’ll update this entry later today with some pictures.